Self-administration
Introduction
On the 16 October 2017 NADA rolled out the self-administrator functionality for our members in NADAbase. As part of the consultation process, delegates were asked to select a nominee as their organisation’s administrator for NADAbase.
The role of the administrator will involve:
- NADAbase point of contact
- User login management and related security
- Champion best practice around data entry and reporting
In response to previous NADA member feedback and stakeholder consultation, this change will provide our members with greater user efficiency through the ability to create and deactivate user logins. It is hoped that it will also promote improvements in security within organisations through individual users being registered.
NADAbase Point of Contact
The Administrator will be the point of contact within their organisation for NADAbase in areas such as user login management and related security, promoting and supporting best practice around data entry and reporting, and to enhance communication at the user level in all matters related to NADAbase as communicated by NADA. For example: NADAbase outages, updates and changes.
All other issues experienced by a NADAbase user, including any feedback, can be communicated by emailing nadabasesupport@nada.org.au
User Login Management
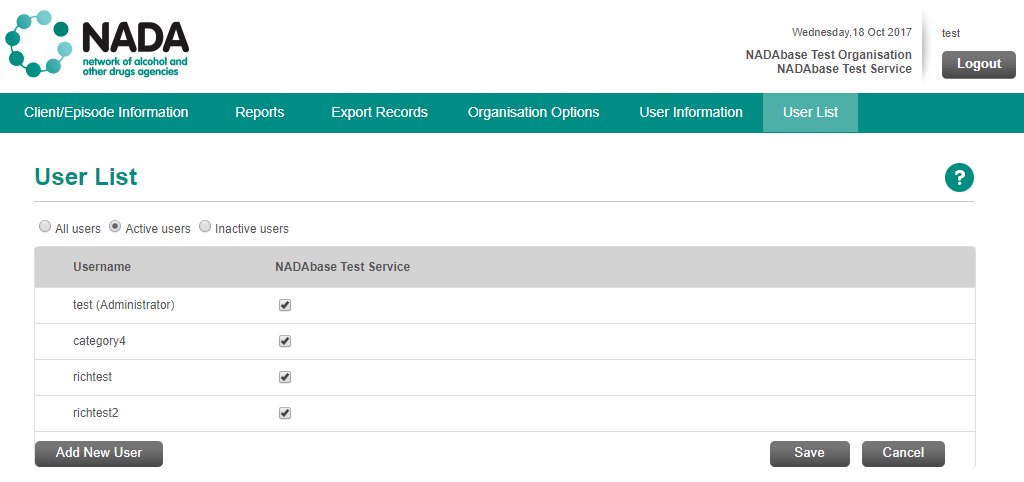
Located in the ‘User List’ on the menu tab is where administrators will view and manage all users that have a NADAbase login. Radio buttons in the window will provide administrators with the flexibility to view: All Users, Active Users, Inactive Users.
Click image to enlarge.
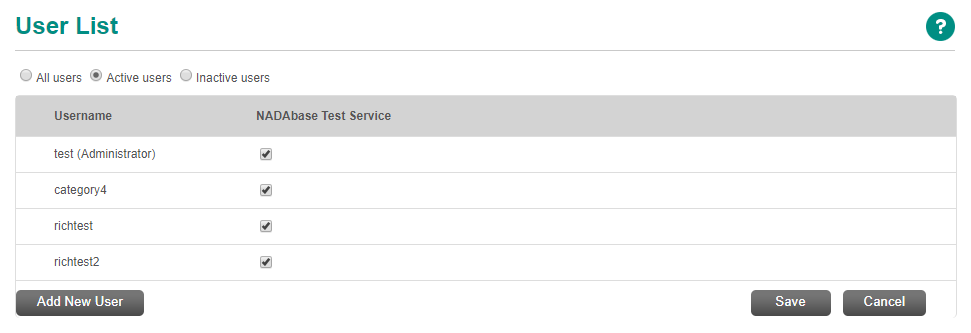
For those members with multiple programs these will be displayed in the table alongside one another in the following header.
Click image to enlarge.
![]()
In this section administrators will also have oversight of the programs users have access to, including the ability to activate and deactivate simply by ticking or un-ticking the related box as shown above in the user list. An example of when this may occur is a staff member currently accessing programs ‘X, Y and Z’ however is then moved onto a new program called ‘W’ and no longer requires access to the data in the other programs.
Adding a New User
Prior to adding a new user administrators should always check the organisation’s inactive user list in case the ‘new user’ was previously employed by the organisation and had access. This will save setting up the same user again.
To add a new user select the ‘Add New User’ icon within the ‘User List’ tab, as displayed here.
Click image to enlarge.

To create a new user fill in the mandatory fields marked with an asterix. As the first and last name is entered this will automatically generate the Username, as displayed here. Click image to enlarge.
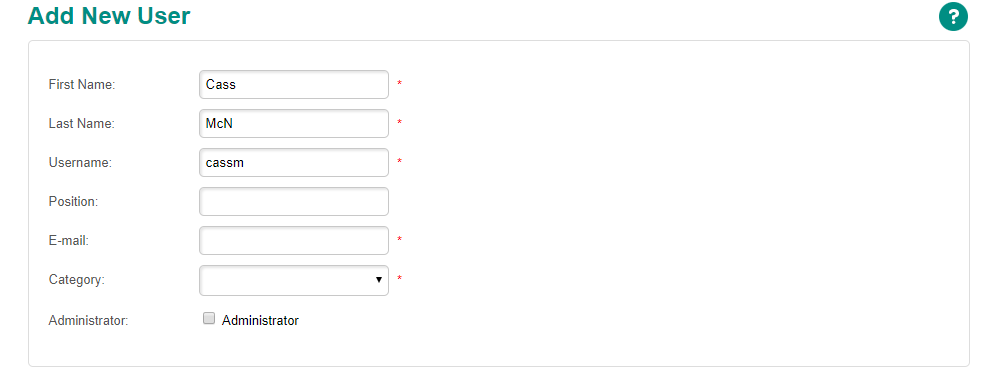
The Category field provides a drop-down menu to select either: Normal User or Read Only. A ‘normal user’ is one who can input and alter client data, a ‘read only’ user can only view the data.
Administrator rights can be provided to another user simply by selecting the ‘Administrator’ box. This may be required in the instance that the main administrator is on planned leave or only works part time or if it is a shared responsibility.
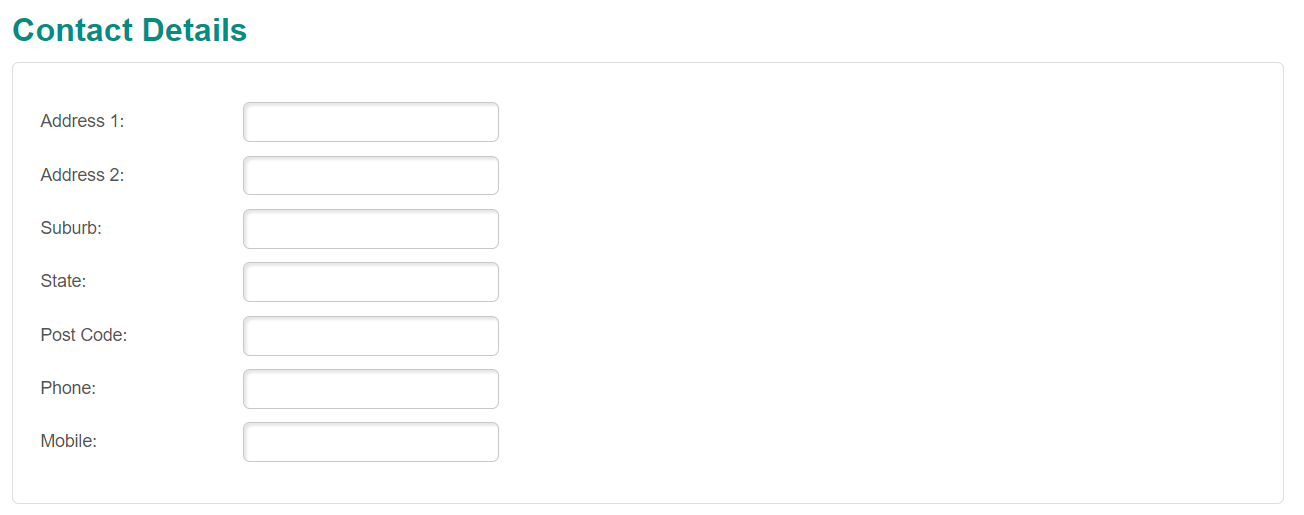
Additional user information can be captured such as address and contact numbers however it is not mandatory. It is suggested to follow your own organisation’s protocol on this matter.
Click image to enlarge.
Setting a Password
The last stage of adding a new user is setting the password. This can be created using any combination. Once all necessary fields have been completed select SAVE. The administrator is then required to communicate to the new user their username and password, reiterating that these details should not be shared.
Click image to enlarge.

Resetting Passwords and Editing User Details
From the User List select the relevant staff member. For example: selected here will be user: ‘richtest’.
Click image to enlarge.
This will then display the User Details screen. To update/edit details select the edit icon.
Click image to enlarge.
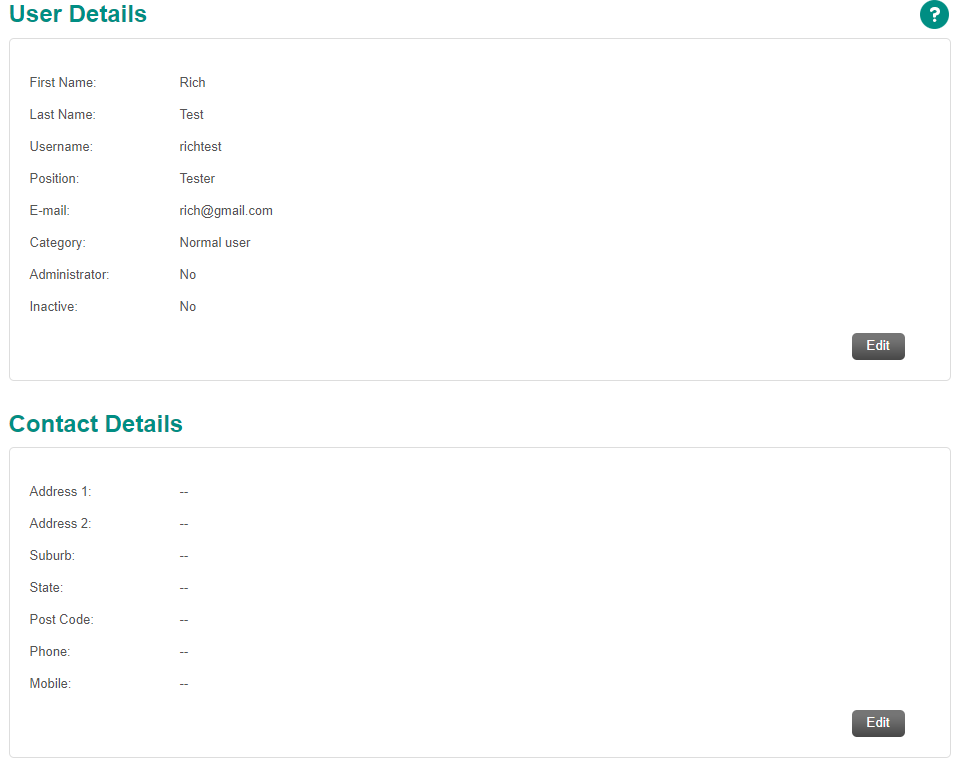
If the user has forgotten their password it is in this screen the administrator will view the staff member’s current password.
To change the password enter and confirm the new password in the relevant fields, to save select ‘Change Password’, as shown below. Click image to enlarge.
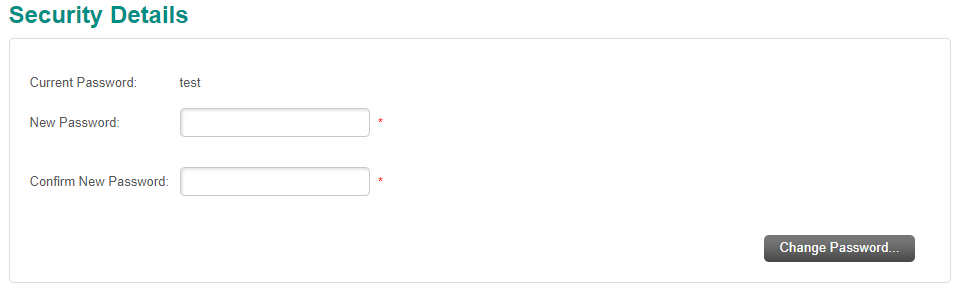
A message will be displayed that the password has been updated successfully. To view and check the new password, click out of the screen and back in to view the same user’s information.
This screen can also be used to check which service the user has access to.
Click image to enlarge.

Enhancing Security - some tips
- Ensure employees who have left the organisation are made inactive immediately.
- Consideration should be given to temporarily inactivating logins for staff on long periods of planned leave ie. Maternity leave, long service leave, or Secondment.
- It is recommended each user has their own username and password.
- Encourage users not to share login information.